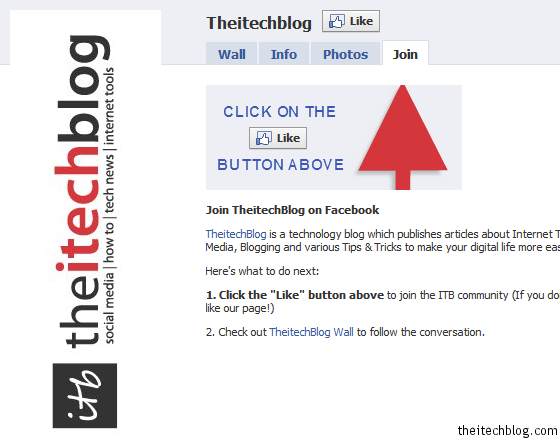
Facebook Page has became an essential part of a ‘Blog’, ‘Website’ or we can in a broader perspective say ‘a brand’. It enables the Facebook users to join and be updated about the latest happenings around any brand. This is a great way to build up a community of like minded people on Facebook.
Facebook Page incorporates information regarding what the brand is all about, with various pictures, links, events, notes, video, discussions etc. Apart from all these you can even add your own custom tab. Creating a custom tab is done with the help of html, just like how you create a website. And its really easy, you just have to add a few lines of code to create a simple tab. Lets do it! scroll below for more.
In this article we’ll learn to create a Welcome tab. It will be visible/displayed to the non-member visitors to the page, asking them to join the page. This will help you increase your Facebook Page followers base.
Adding a Custom tab to the Facebook Page
This is done with Static FBML, which stands for Facebook Markup Language, which is a subset of HTML.
 You can add advanced functionality to your Page using the Facebook Static FBML application. This application will add a box to your Page in which you can render HTML or FBML (Facebook Markup Language) for enhanced Page customization. This application is only available for Facebook pages, not for personal profiles or Facebook groups.
How to add Static FBML to your Facebook Page
1.1. The first and most important, you need to be the administrator of the page in-order to add Static FBML.
1.2. Search for static fbml in the search box and reach the application, or follow this link.
Update: The above link to FBML app is no more working. Try out this new link, this will directly ask you to specify the page where you need to add the FBML tab, rest of the procedure is same from step 2.1.

1.3. Click on ‘add to my page’. And click on the ‘add to page’ button in front of the appropriate page, to which you want to add the new tab.
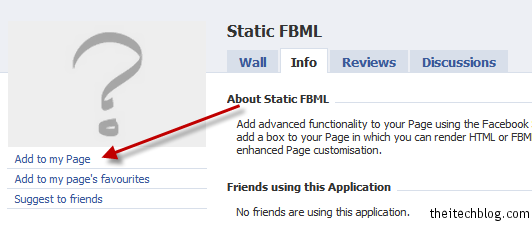
Static FBML is now added to your page.
Setting up Static FBML as a tab
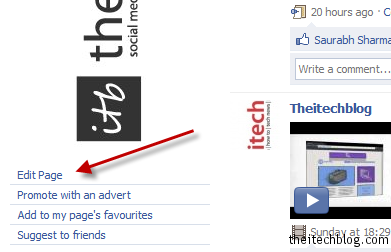
2.1. Click on the ‘Edit Page’ link under your page logo located on your wall.
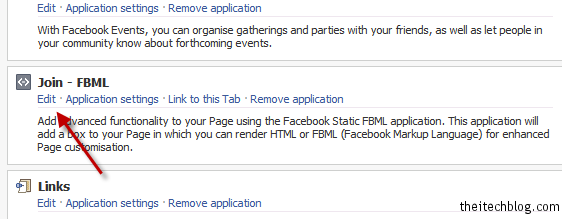
2.2. Scroll down to the applications section, locate the FBML app and click “Application Settings“.
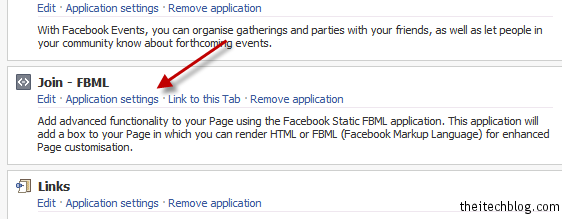
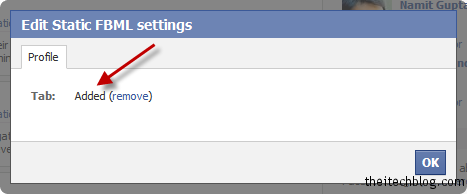
2.3. Make sure that the ‘tab’ setting is added. You now have a FBML tab.
2.4. You will see ‘Edit’ option to the left of ‘Application Settings’. Click on it. This is where you will add the html or fbml code. You can also add a new title to the new tab, example “Welcome!” or “Join”.
Adding content to the Static FBML Welcome tab
If you wish to create a Welcome tab as I have done, it’s very simple.
3.1. First you will need to design a creative image which will attract visitors to click on the like button and join the page.
3.2. You will need to host the image on the web. You can host it at your own hosting space or you can host it at any image hosting site, I prefer Photobucket.
Use HTML markup to add the image or any other text or links to the tab. Add that HTML markup in the Edit box, I mentioned in point no. 2.4 above.
Sample HTML Markup you can use in Static FBML tab
For inserting image
<img src="http://xxxx">Replace xxxx with the direct access image url.
For inserting text
<p>xyz</p>Replace xyz with any text.
To add a hyperlink
<a href="http://yyyy">abc</a>Replace yyyy with the link and abc with the anchor text.
You can surely use other HTML markup with these.
Make this FBML Tab the Default Landing Tab
Goto Page -> Edit Settings -> Wall Settings -> Edit
Set ‘Default Landing Tab for Everyone Else‘ to your newly created fbml tab.
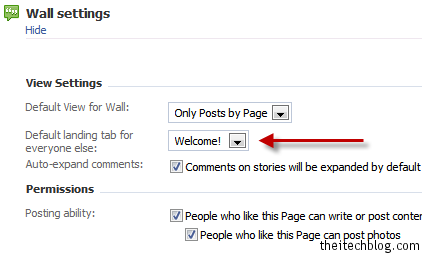
Once you have done this, goto your page and view the tab.
Also see: 24 Interesting Links which will make you fall in Love with Facebook.
If you experience any problem feel free to comment.
